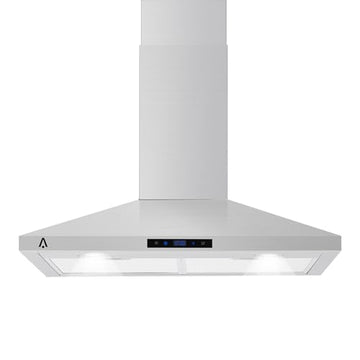
GARVEE 30 Inch Wall Mount Range Hood 265 CFM, Touch Control, LED
Get it between -
Couldn't load pickup availability
Free Shipping
Easy Return
Free Gifts
Fast Delivery
- 265 CFM suction removes kitchen odors
- Stainless steel body, easy to clean
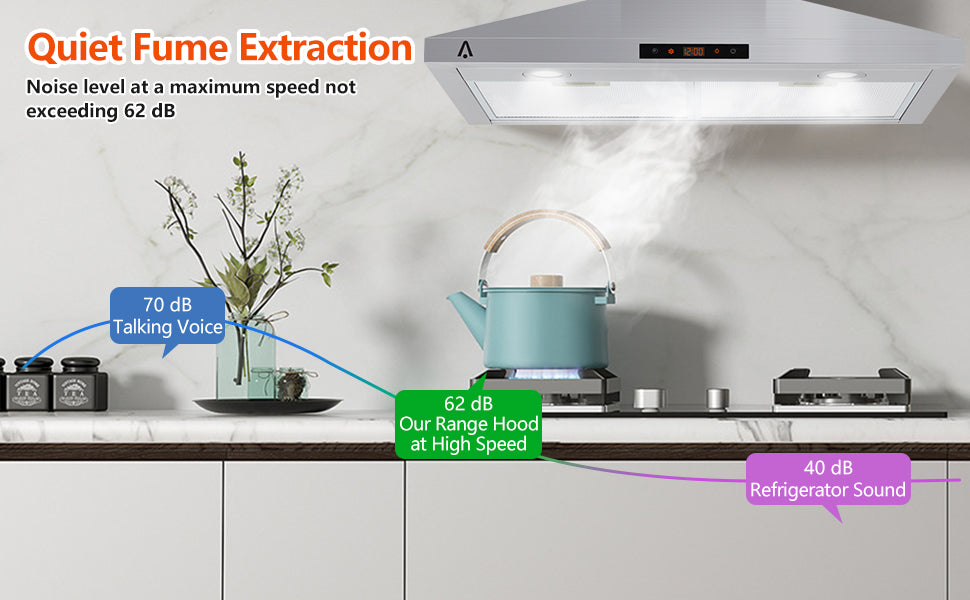
- 3-speed touch control, low noise
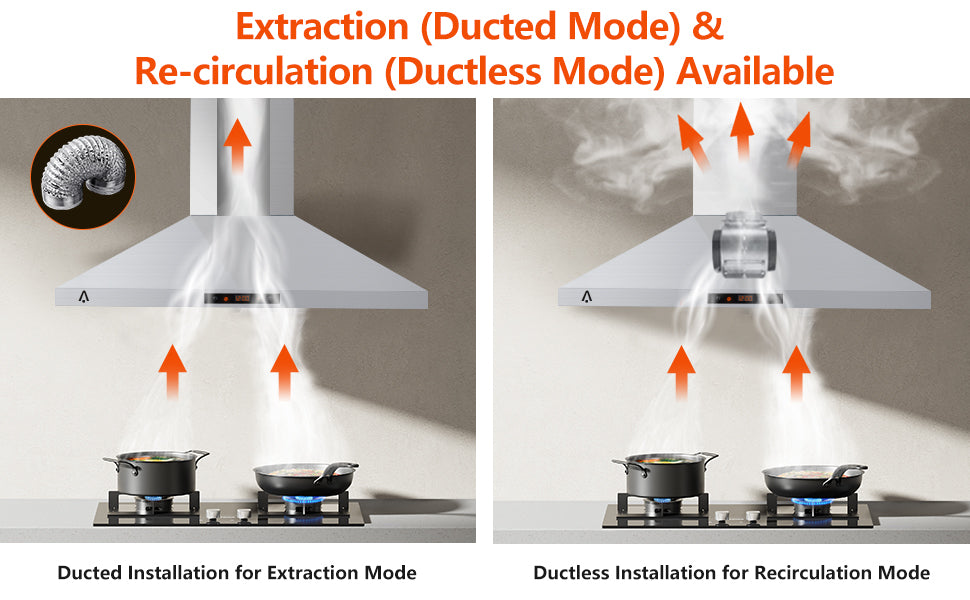
- Convertible ducted/ductless venting
- Bright LED lights for better visibility
GARVEE 30 Inch Wall Mount Range Hood 265 CFM, Touch Control, LED
GARVEE 30 Inch Wall Mount Range Hood: Modern Efficiency Meets Style
Transform your kitchen ventilation with our powerful 265 CFM range hood. Designed for performance and elegance, it's the perfect combination of functionality and modern aesthetics.
Why Choose GARVEE?
Powerful Performance
265 CFM suction power effectively removes smoke, odors, and cooking fumes, keeping your kitchen fresh and clean.
Premium Construction
Built with high-quality stainless steel for durability and easy maintenance, ensuring long-lasting performance.
Smart Controls
3-speed touch control system with quiet operation lets you adjust ventilation to your exact needs.
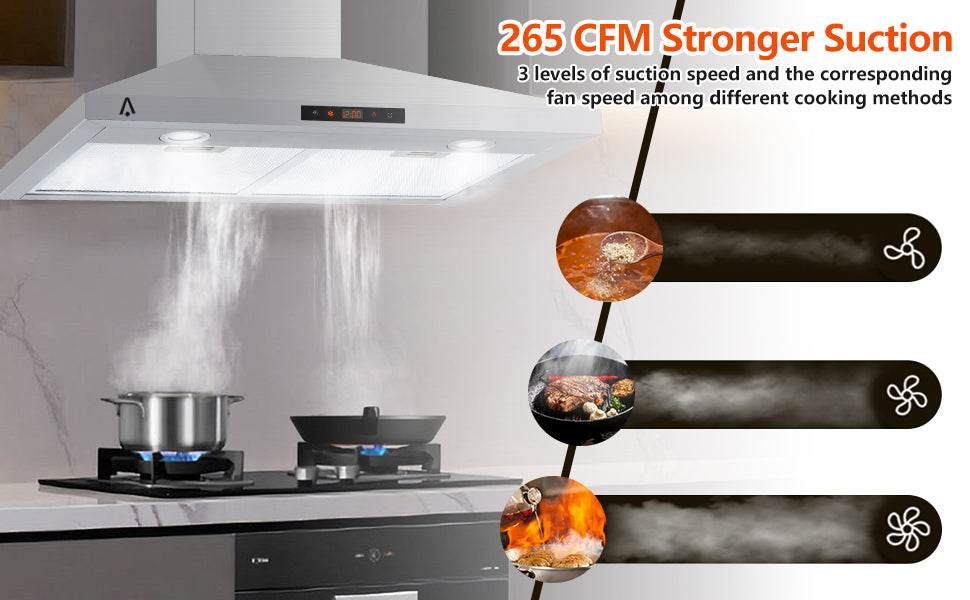
Features That Perform
With its sleek design, powerful suction, and quiet operation, this range hood combines performance with convenience. The stainless steel construction ensures durability while maintaining an elegant appearance.
Versatile Installation
The convertible ducted/ductless venting system provides flexible installation options to suit any kitchen layout. Bright LED lighting ensures optimal visibility while cooking.
Smart Design Meets Superior Function
Every detail has been carefully considered, from the efficient 265 CFM motor to the touch control panel and LED lighting system, creating the perfect balance of form and function.
Key Features
- Powerful 265 CFM suction for effective smoke and odor removal
- Premium stainless steel construction for durability
- 3-speed touch control with quiet operation
- Convertible ducted/ductless venting options
- Bright LED lights with dual brightness levels
- Easy-to-clean design and maintenance
- Modern aesthetic that complements any kitchen style
Specifications
Brand | GARVEE |
Noise | 60 dB |
Color | Silver |
Voltage | 110 |
Airflow Displacement | 265 Cubic Feet Per Minute |
Material Type | Stainless Steel |
Special Features | Stainless Steel Baffle Filters, 3 Fan Speeds, LED Lighting |
Included Components | 1x Range Hood, 1x User Manual |
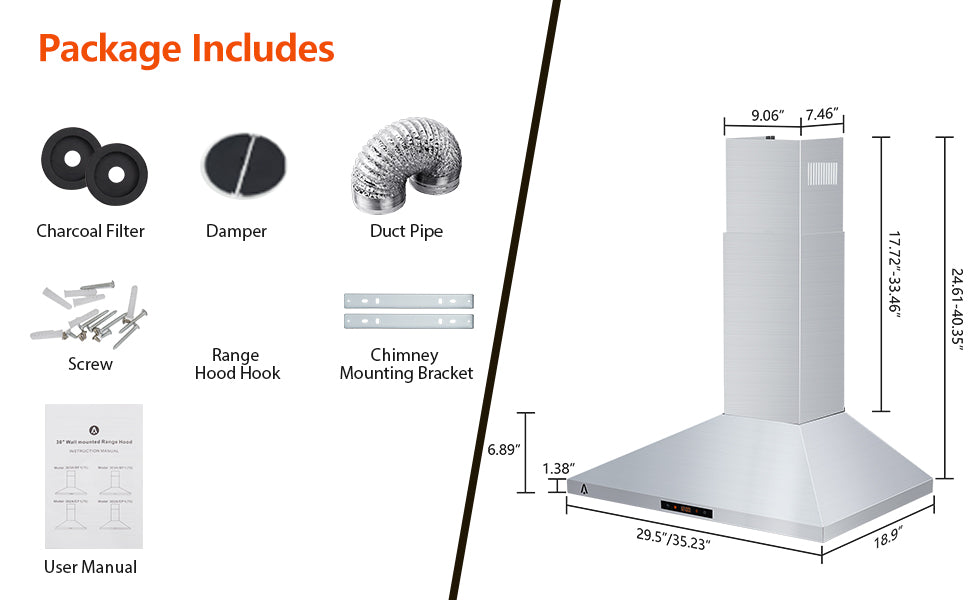
Product Dimensions | 18.9 x 25.9 x 6.89 inches |
Item Weight | 19.84 pounds |
Reviews
We had this vent hood for few weeks now, I love how this one is not too loud. I do lot of cooking and this vent hood helps not to spread the flocked around my entire home. Like the little sensor thing and 3 speed setting options
I am really happy with my new range hood! It’s incredibly convenient to use, thanks to the built-in lighting, adjustable speed settings, and effective filtration.The lights make it easy to see what I am cooking, and I can adjust the fan speed depending on how much smoke and grease there is. It truly enhances my cooking experience and makes cleanup so much easier.
I am glad to hear that the packaging of the range hood was excellent and that it arrived without any dents, scrapes, or scratches.The mounting system of this range hood is better than your previous one, and its lightweight design gives you confidence that the anchors you used are sufficient for installation.Your decision to choose this particular range hood because of the position of the lights was strategic. Having the lights in the front rather than the back provides better lighting for the stovetop, which is a practical feature.It's fantastic to hear that this hood is much quieter than your previous one. While you haven't tested its performance in removing smoke, steam, or odors yet, you have high hopes for its effectiveness.The fact that the covers can be easily removed and washed in the dishwasher is a convenient feature that you plan to take advantage of regularly, possibly once a week.Lastly, the digital display and touch buttons on the hood have impressed you, providing a clean and modern interface. Overall, you are very pleased with this range hood and its features.
This range hood served as a basic replacement for the broken NuTonerange hood that came with our house. The old NuTone unit was completely nonfunctional, prompting us to purchase this new one. The product arrived adequately packaged, with only a minor dent in the upper fold on the back of the unit that was hardly noticeable, so we opted not to request a replacement.The NuTone hood I removed had a recess in the top, and the electrical supply from the wall was positioned near the top of the unit about 3 inches over from the corner. In contrast, this unit had a completely flush top with knockouts on the top and rear, about 7 inches in from the corner. To align the power supply with the knockout, I had to cut a section of drywall behind the hood. While this wasn't a major issue, it was a bit inconvenient.The package included instructions for a recessed cabinet installation, but the unit out of the box was designed for a flush bottom cabinet. Since my cabinets had recessed bottoms, I decided to use longer wood screws with washers to secure the range hood to the bottom shelf in the rear and smaller holes on the front lip of the hood to attach to the front fascia of the cabinet. It was essential to drill pilot holes for the screws, and a 1/8"" drill bit worked perfectly. Once the hood was hung, I made the electrical connections. Note that wire nuts were not provided, so ensure you have some on hand.Overall, the installation process went smoothly, and the unit is securely in place and functioning perfectly. The switches feel sturdy, and we added two LED bulbs and a duct pipe, improving visibility while cooking. Now, we can see what we're cooking with ease.
I purchased this stainless steel range hood as a budget-friendly replacement for my old one that had stopped working. Since we plan to install an over-the-range microwave in the near future, I didn't want to invest in an expensive hood. However, we needed an exhaust fan in the meantime.The installation process was incredibly straightforward. It took me less than 10 minutes, with only a couple of minutes spent walking up and down the stairs to switch the power on and off in the kitchen.When the package arrived, I found that the box had been left wide open at my door. This was a first for me with Garvee, and it initially caused some concern. However, upon close inspection, everything was in good condition. The only items in the box were the hood - which was undamaged despite the box being open - and an instruction booklet that I didn't need to use. The mounting screws were located in a plastic bag under the wiring cover, which had to be removed during installation. Initially, I thought the screws were missing, but I later found them underneath the cover. Be sure to check under the cover for the screws!Given that my cabinets have a frame ledge that hangs down 1/2"" below the cabinet on the front and back, I had to use a 1/2"" spacer board between the hood and the cabinet or drill new holes in the hood at the front and back edges to screw into the ledges for mounting. I opted to drill new holes in the hood, using a 3/16 drill bit that worked perfectly with the included screws.I then removed the back wire tab on the hood using a flat-head screwdriver, turned off the power to the kitchen, and passed the power wires from the wall through the tab hole.With my wife's assistance, I held the lightweight range hood up to the cabinet, ensured we were happy with the placement, and quickly secured the hood to the cabinet with the four included screws. This step took less than 2 minutes.Finally, I connected the white wires from the range hood to the white wire from the wall, the black wires to the black, and attached the ground wire from the wall to the greenish/blue screw on the hood. I then turned the power back on and tested the hood, which worked perfectly.Enjoy your new range hood!
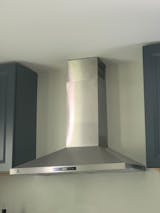
Easy install!! Looks amazing over our stove. And I love the lights in the back, such a unique touch!
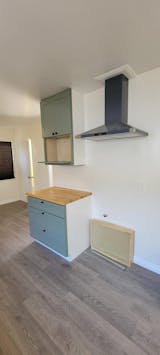
This range hood looks great in our new space, very modern and also great function. Was an easy install for our contractor as well. Noise level is as expected with the vent on, not that bad. Looking forward to using it!