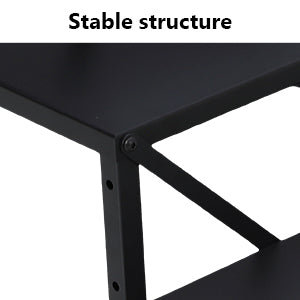
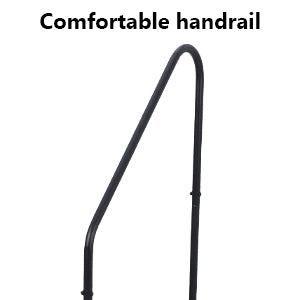
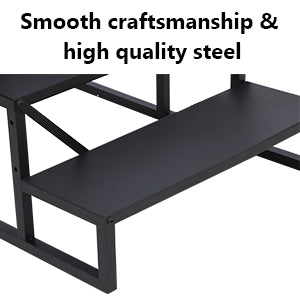
I found this 3 step platform quite sturdy once I figured out how to assemble it. The directions included a parts list and an exploded view (about 2x2", so essentially worthless). Once assembled, It is about 6" too short for a comfortable transition into my travel trailer, I am thinking of adding a 4x4 skid to the bottom to help with that. Originally I was thinking it would be easy to take apart and take on trips. NOT. But, I do most of the loading/unloading at the house, so this will work anyway. I got one of the mark down ones from the warehouse so at that price, figured I'd make it work.Now that I have got it put together, here is what I wish I'd known to assemble it:1. Identify the two frames (look like steps from the side) and place sort of in the correct position2. Attach one of the smaller platforms to the bottom area...use small screwdrivers or something, don't worry about the bolts yet. - The platform sets on top of the very front post; the back is attached to a bolt area on the next post - Temporarily stick something in to these holes. The intent is to help hold the frame stable while you work on the top platform. If everything is not exactly square, it's a "challenge" to get the bolts in.3. Attach the larger platform to the top. If you have enough sticks (or whatever), go ahead and put these in place to hold the platform in place. It will also fit snuggly on top of the taller two supports. Be sure the holes along the long side face the back (they are needed for bracing) - run the medium bolts (all bolts will be this size unless specifically stated otherwise) from the outside in, then finger-tighten a nut on the back of the bolt. You may have to wiggle stuff around, so don't tighten yet. - in the front location, be sure to include a flat brace between the platform and the post (this will later attach to the lower step)4. Attach the middle step to the middle post, and it will attach in the back to the next taller post. Once again, insert the flat brace between the platform and the post. Be sure the holes along the long side of the step face the back Putting something in the holes to hold the back in place really helps - connect the brace from the top step to the hole on the back of the middle step using the medium bolts5. The bottom step goes together pretty much like the middle step6. There are some angled braces. They go on the back of the top platform, you sort of have to try them out as one is bent left around the leg, and the other is bent right.7. The hand rail can go on either side, there are holes to facilitate this. Use the long bolts to go through long post in both locations (2 bolts at the top of the furthest back post, and 2 bolds along the front of the middle step)8. Attach the angled part of the rail into the posts. Insert a bolt to secure to the vertical parts of the rail. I chose to put them in from the "inside" of the stair outwards, but you may have a requirement to turn them the other way.9. Tighten everything up with the provided hex wrench and a 13mm wrench. I was able to use a socket wrench for most locations and this was pretty quick. I found it much easier once I flipped the stairs over so I was able to access everything.NOTE: The tolerances on this are tight and result in a very stable platform. Once assembled, you will be amazed. As a result, there were a few spots where I had trouble getting the bolts in correctly. I found that if I sort of held in the correct orientation (perpendicular to the structure) with my fingers and turned with the hex wrench they just sort of corkscrewed right into place.


